|
Indrek's sushi page
 (Note: you can click on the pictures to get a better view) Now I'm quite an amateur at this but I've come to wonder how so many people are intimidated by this quite simple process. So I've decided to give my bit and present here my way of doing it. If you're an expert and catch me doing something silly then please don't laugh too much, I'm trying :)
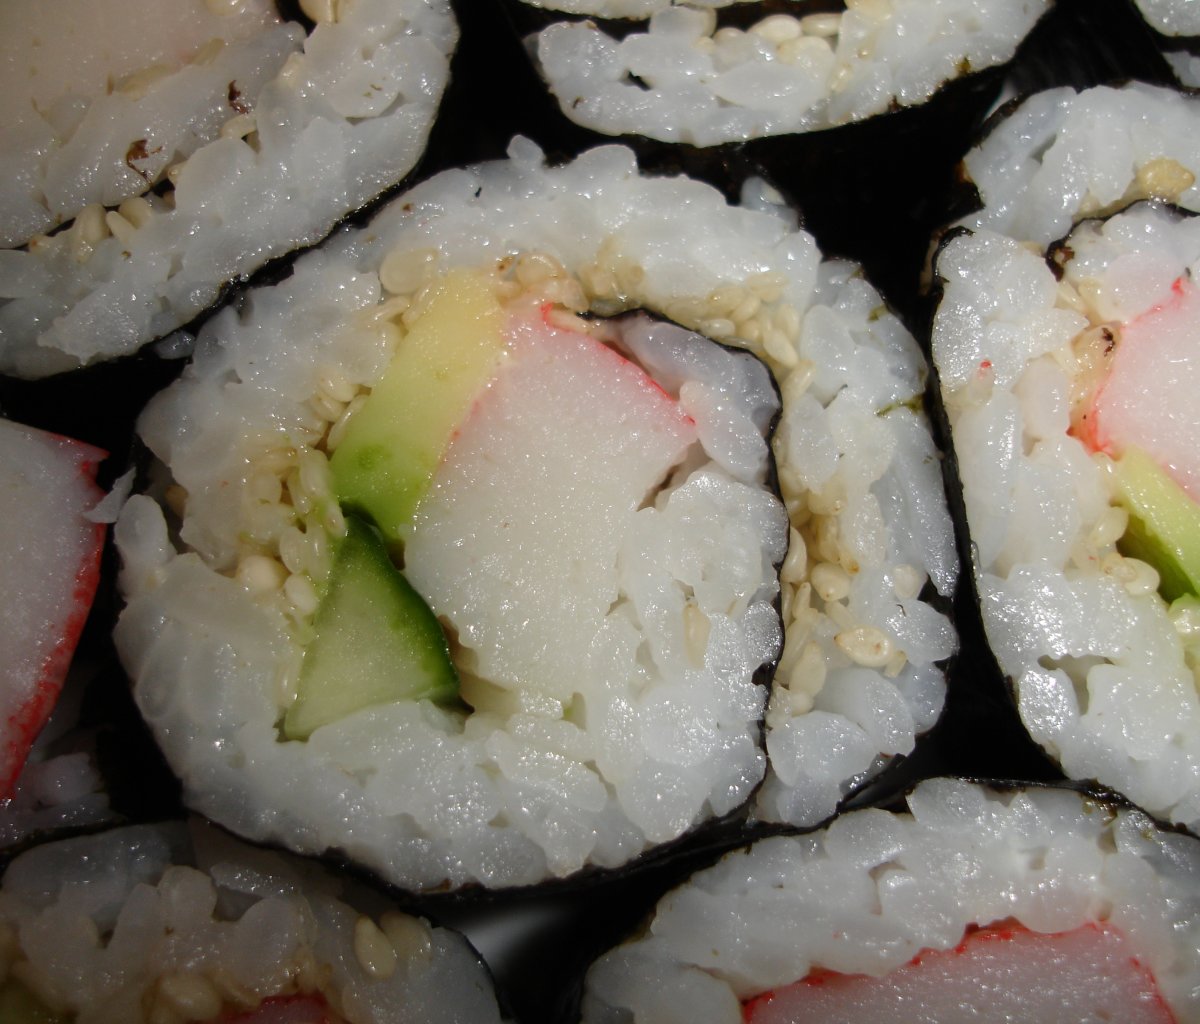
I'm making maki rolls here, generally inspired from the "california roll" american style sushi.
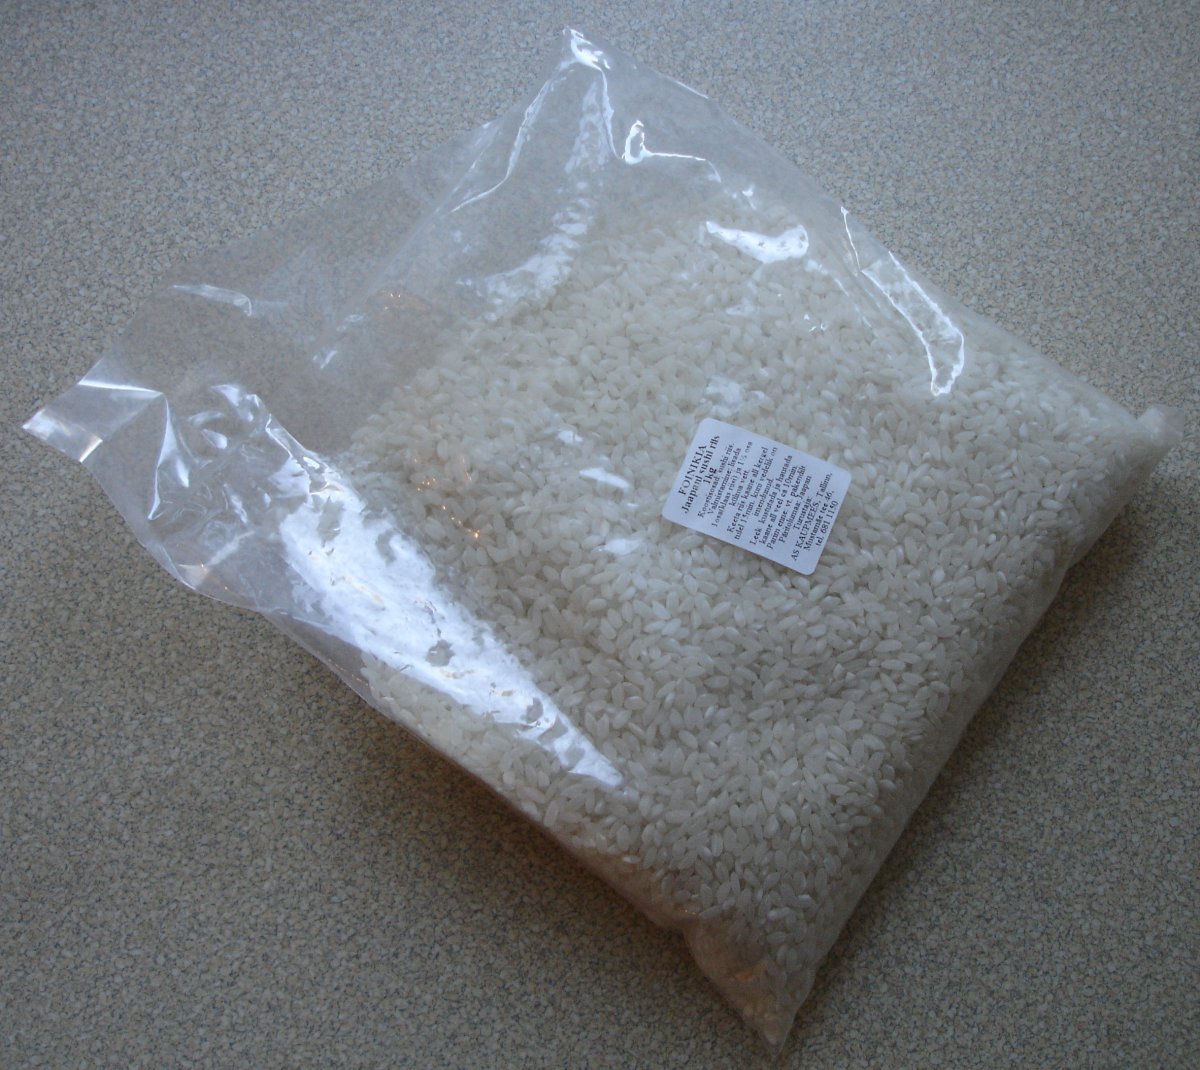
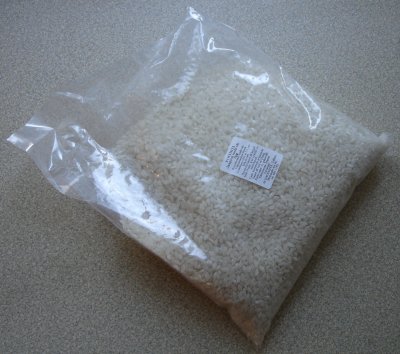 Rice. Sushi uses a special rice that is very sticky. So the regular "jasmine rice" and others like it you can find on your store shelves won't work, trust me on that. You can get specially imported Japanese sushi rice as I have here on the picture. But that is generally quite expensive and you can easily substitute it with "paella rice" or simple "porridge rice". It will work. If you're looking for a substitute and are unsure - try to compare the shape of the rice grains to those of the imported "real stuff". Rice. Sushi uses a special rice that is very sticky. So the regular "jasmine rice" and others like it you can find on your store shelves won't work, trust me on that. You can get specially imported Japanese sushi rice as I have here on the picture. But that is generally quite expensive and you can easily substitute it with "paella rice" or simple "porridge rice". It will work. If you're looking for a substitute and are unsure - try to compare the shape of the rice grains to those of the imported "real stuff".
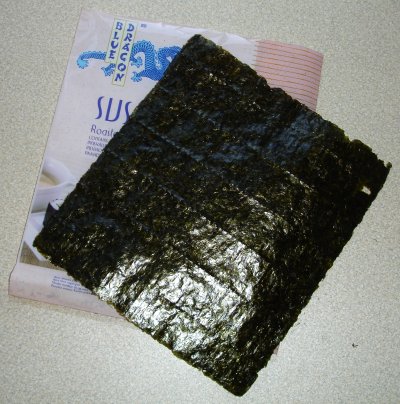 Nori. Nori is sheets of paper-like roasted seaweed. Here I have a pack that has 10 in it. You spread your cooked rice onto it, put on your goodies, and then roll it up. That's pretty much it. Nori tastes kind of salty and they say it is good for health as it helps with digestion. Nori. Nori is sheets of paper-like roasted seaweed. Here I have a pack that has 10 in it. You spread your cooked rice onto it, put on your goodies, and then roll it up. That's pretty much it. Nori tastes kind of salty and they say it is good for health as it helps with digestion.
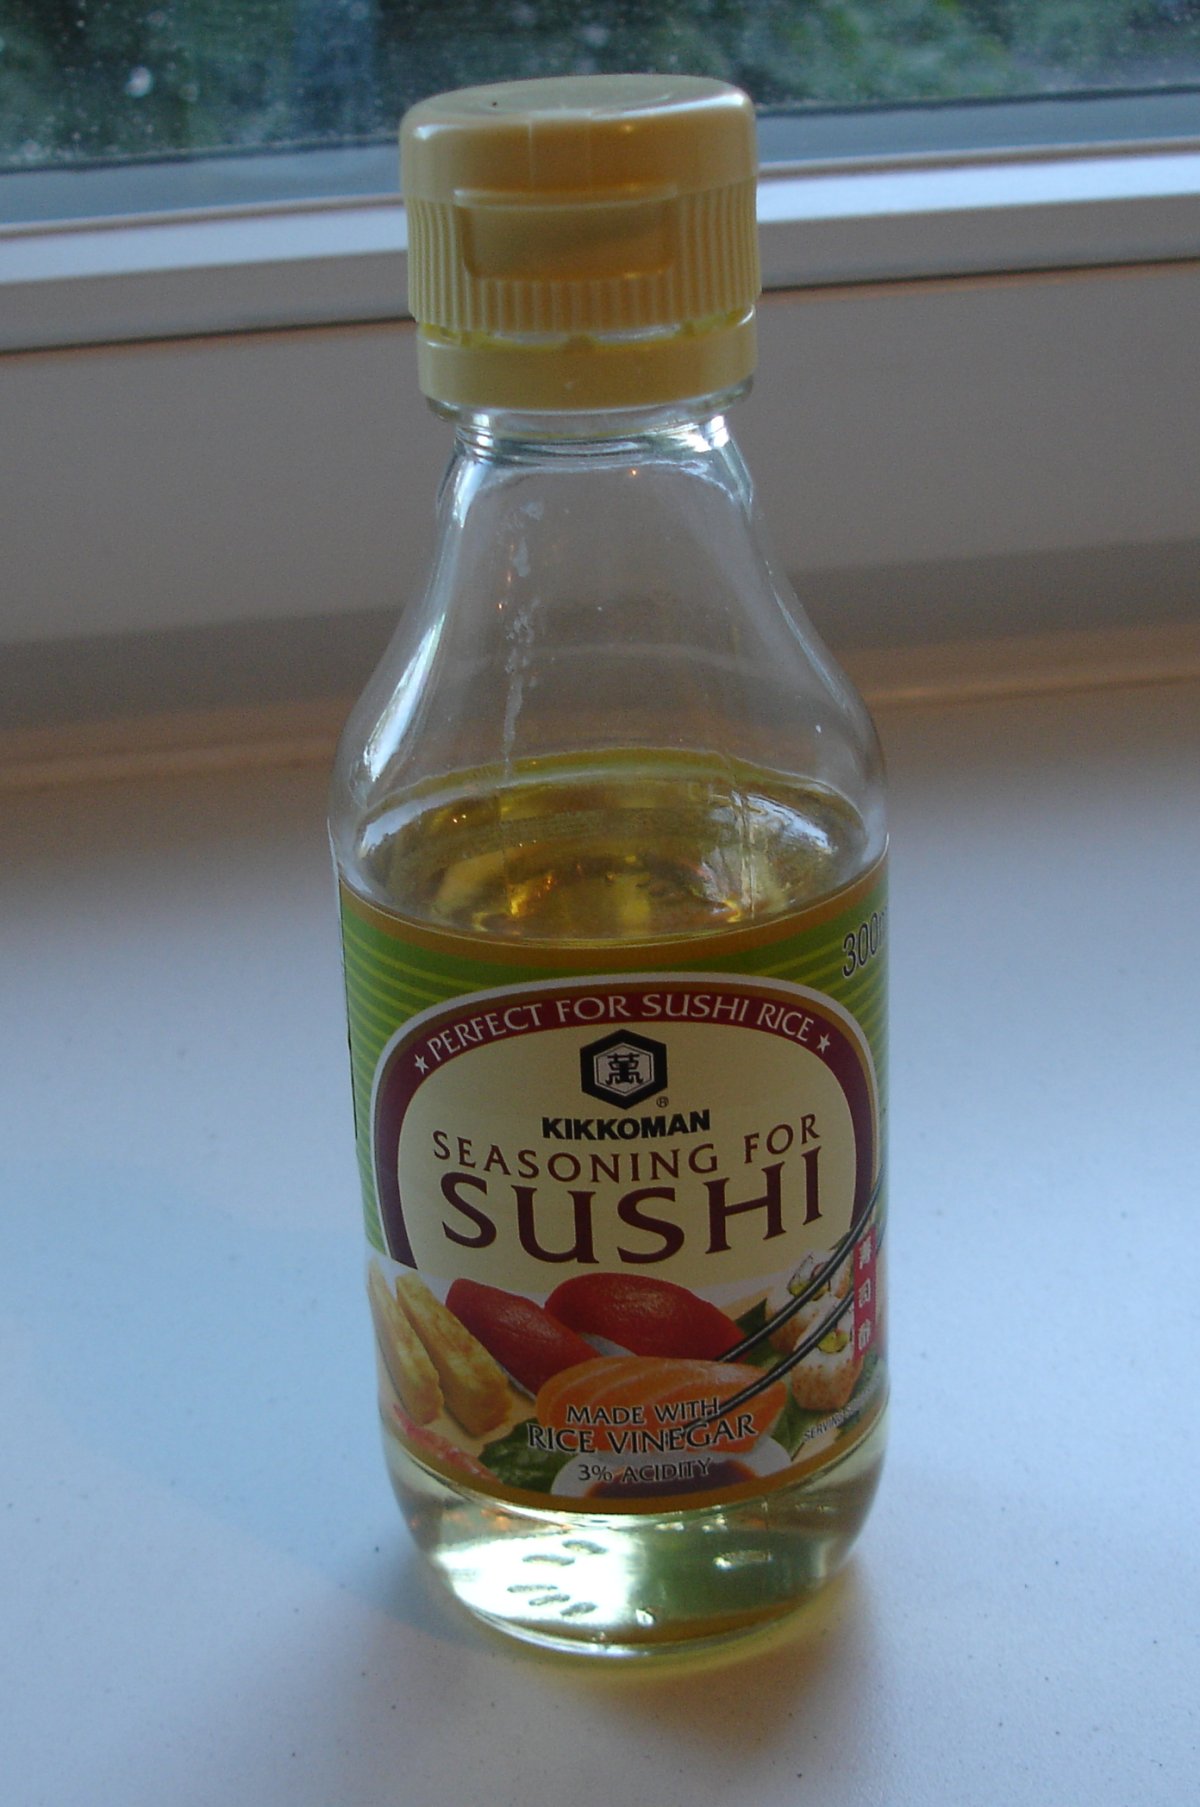
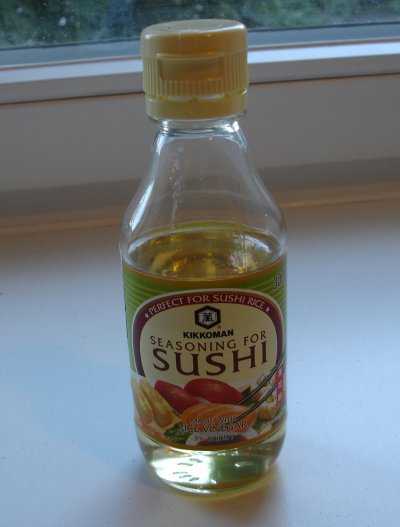 Rice vinegar. We add this to the rice after cooking it. It will add to the taste and it will also bind the rice. Complicated food chemistry I have no clue about. This is one of the sushi making bits I'm least sure of. Generally I'd recommend getting the ready made "seasoning" bottles as they don't need extra work. But be sure not to overdose. Rice vinegar. We add this to the rice after cooking it. It will add to the taste and it will also bind the rice. Complicated food chemistry I have no clue about. This is one of the sushi making bits I'm least sure of. Generally I'd recommend getting the ready made "seasoning" bottles as they don't need extra work. But be sure not to overdose.
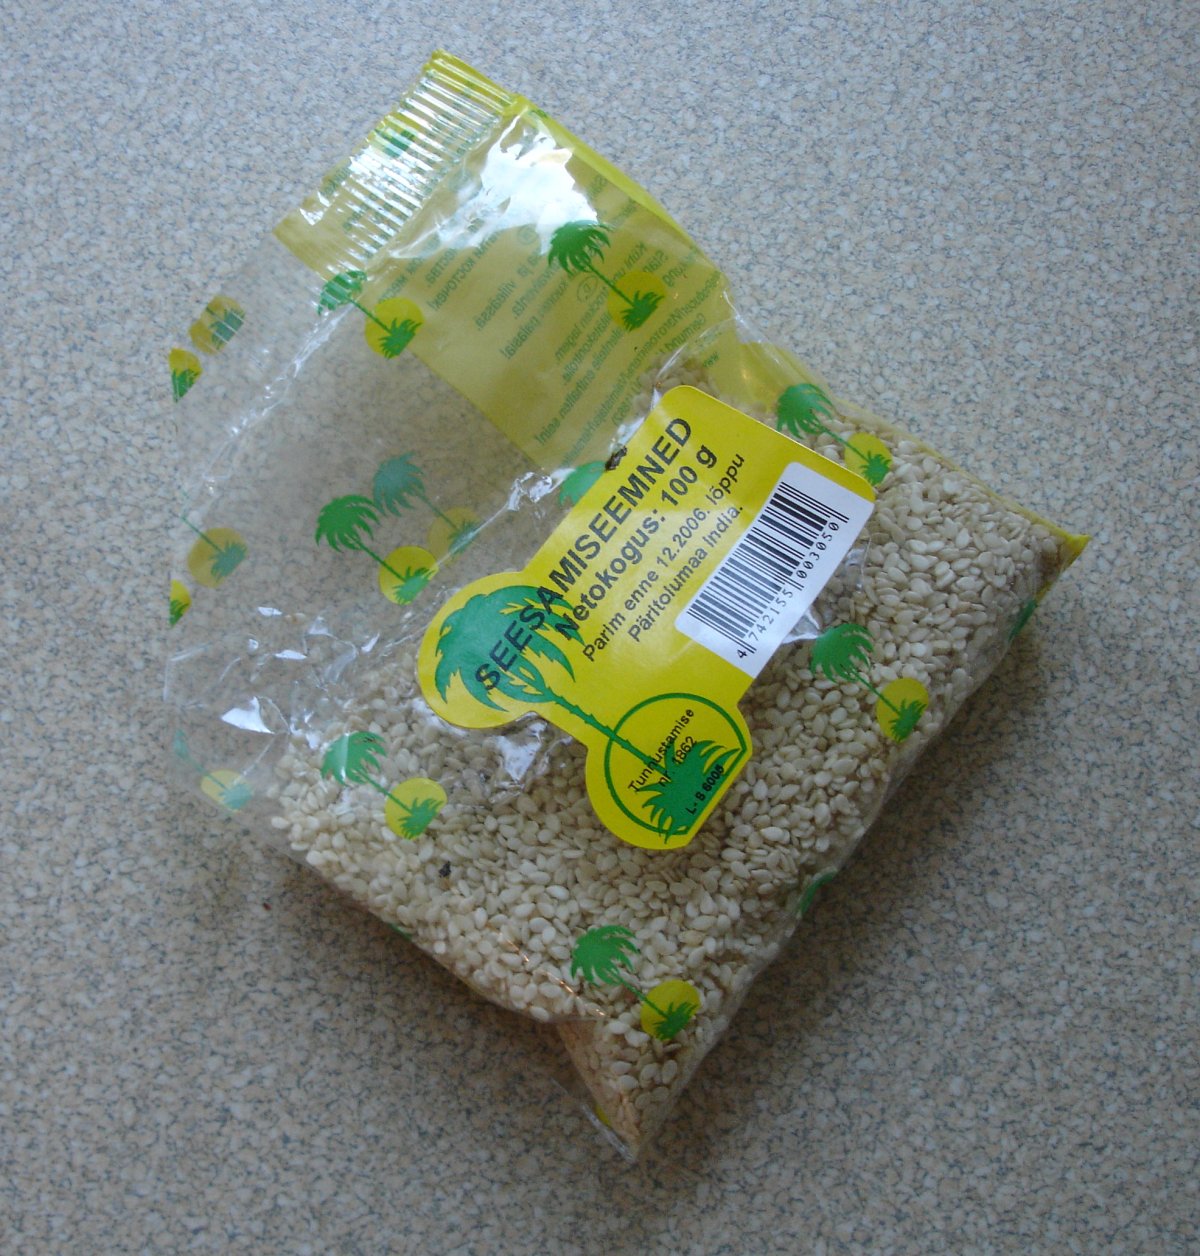
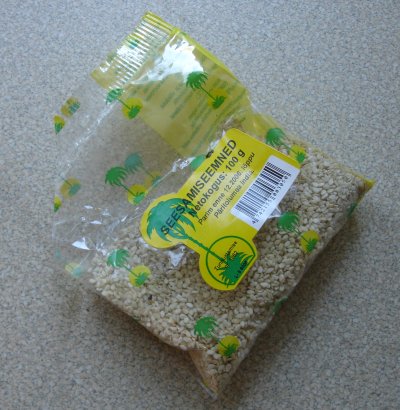 Sesame seeds. Adds nicely to our "california roll" style taste. We sprinkle them on the rice after it has been put onto the nori. Sesame seeds. Adds nicely to our "california roll" style taste. We sprinkle them on the rice after it has been put onto the nori.
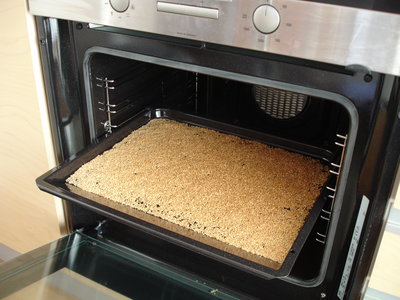 The sesame seeds should actually be roasted. It's not rocket science doing that yourself. Just spread them over a pan and put into an oven for 10 minutes or so. You should monitor the process carefully though to make sure the seeds don't burn. Let them turn to light brown/yellow. You can make a lot in one go so you don't have to do it every time you make sushi. The sesame seeds should actually be roasted. It's not rocket science doing that yourself. Just spread them over a pan and put into an oven for 10 minutes or so. You should monitor the process carefully though to make sure the seeds don't burn. Let them turn to light brown/yellow. You can make a lot in one go so you don't have to do it every time you make sushi.
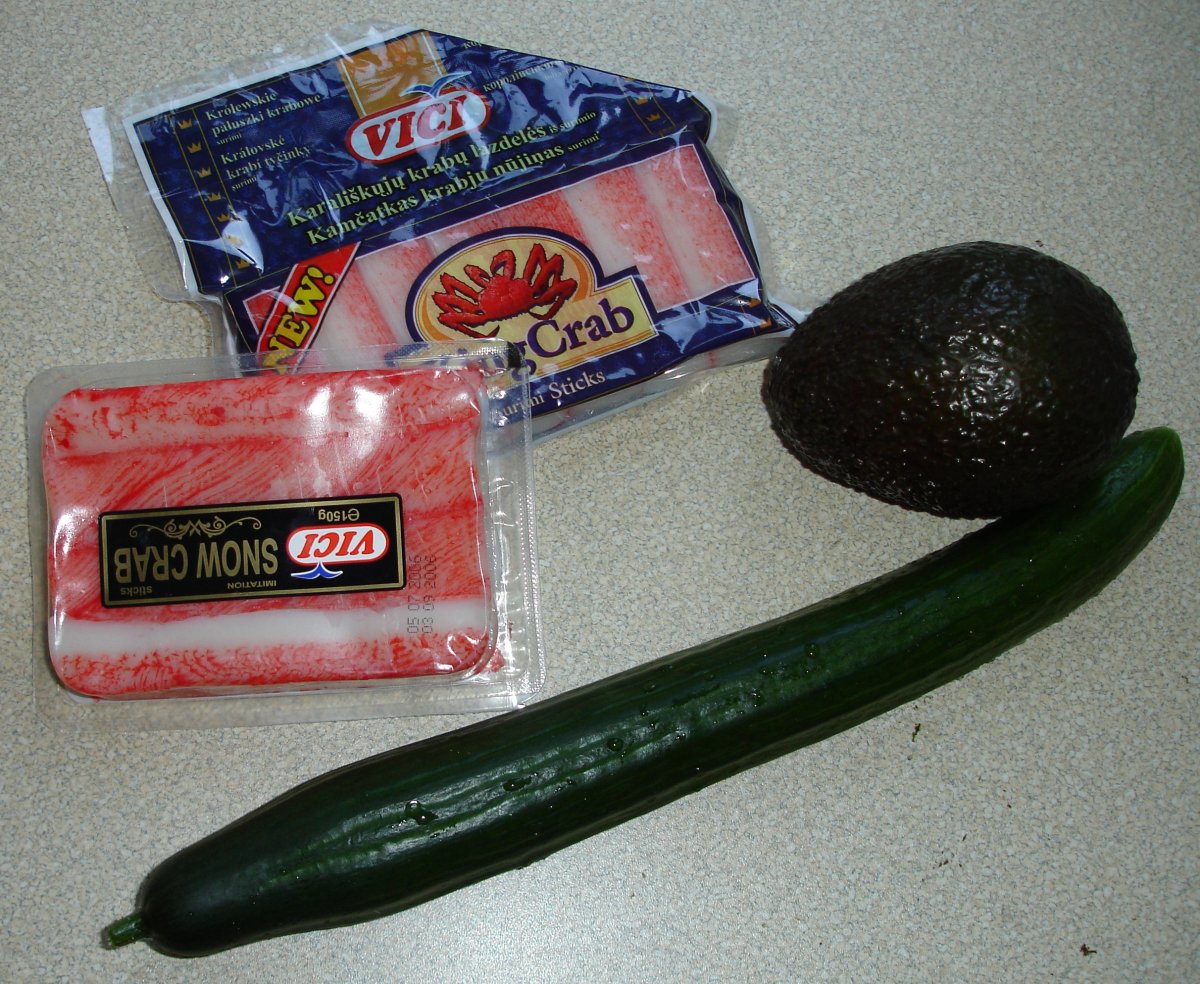
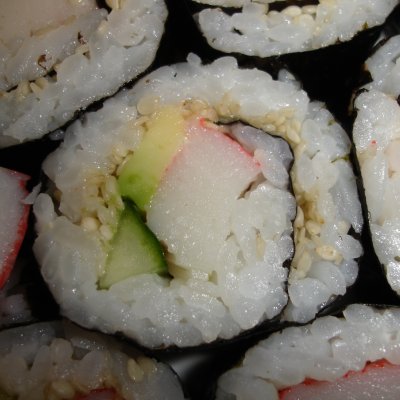
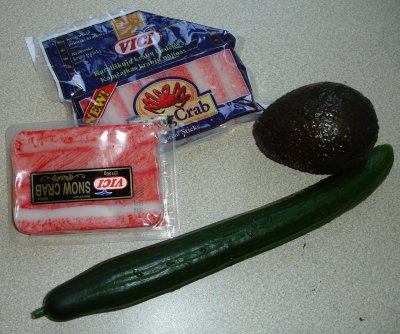 Goodies. Ingrediants I put into my rolls. Surimi sticks, cucumber and avocado. These surimi sticks are "crab-like" tasting sticks. Be sure to get the good quality surimi sticks, the cheap ones taste quite awful. What to look for is content of fish in them, get as high percentage as possible. The cucumber is the long green one, probably the same all around the world. Avocado has to be soft and sweet. I sometimes find hard and bitter tasting fruits in the local stores, I'm unsure why that is so but they're not worth crap for sushi. Goodies. Ingrediants I put into my rolls. Surimi sticks, cucumber and avocado. These surimi sticks are "crab-like" tasting sticks. Be sure to get the good quality surimi sticks, the cheap ones taste quite awful. What to look for is content of fish in them, get as high percentage as possible. The cucumber is the long green one, probably the same all around the world. Avocado has to be soft and sweet. I sometimes find hard and bitter tasting fruits in the local stores, I'm unsure why that is so but they're not worth crap for sushi.
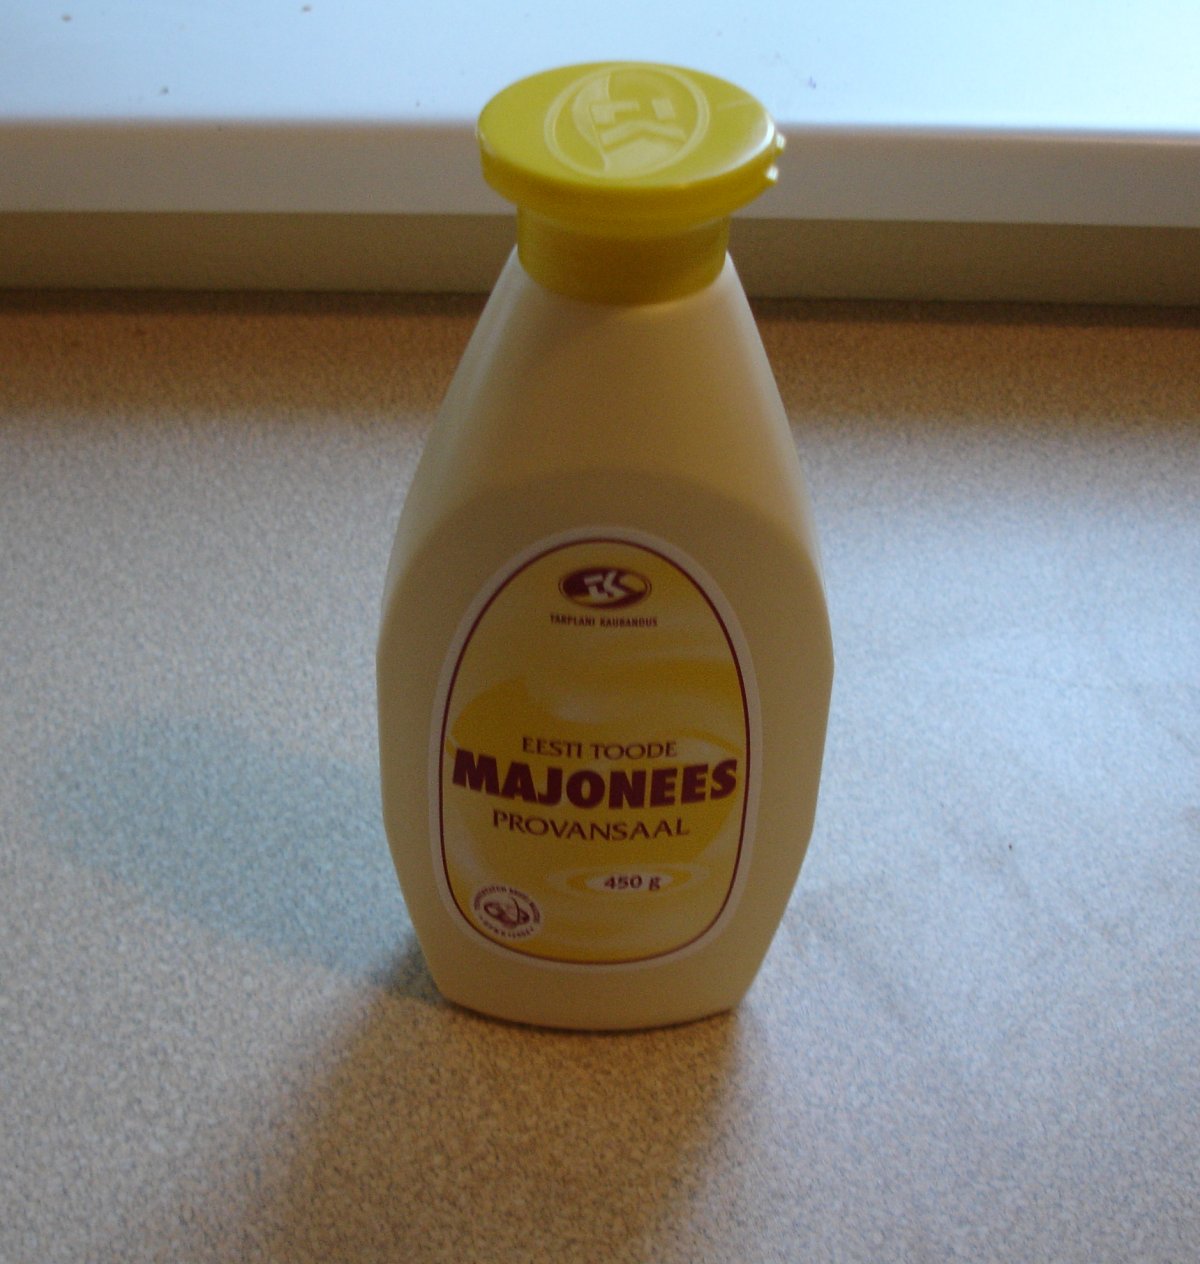
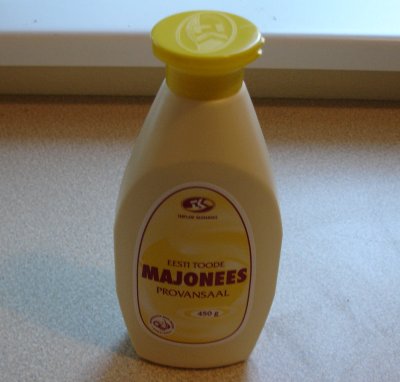 Mayonnaise. Probably most asian people will cringe at the idea of mayo in sushi. But us western milk-guzzling and fat-dripping eating machines appreciate added taste like that. If you don't like it you can easily skip it, this ingredient is optional, but it does add a silkier taste to our california rolls. Mayonnaise. Probably most asian people will cringe at the idea of mayo in sushi. But us western milk-guzzling and fat-dripping eating machines appreciate added taste like that. If you don't like it you can easily skip it, this ingredient is optional, but it does add a silkier taste to our california rolls.
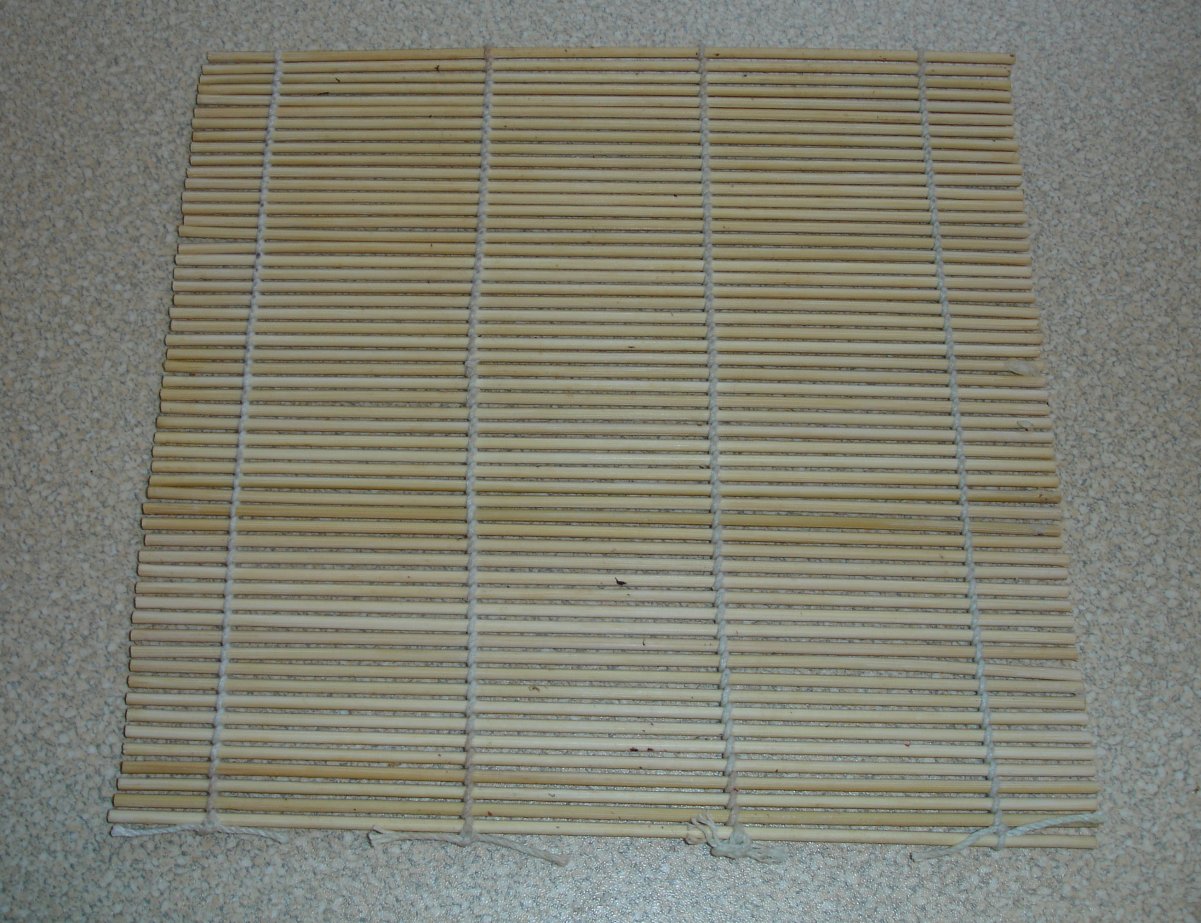
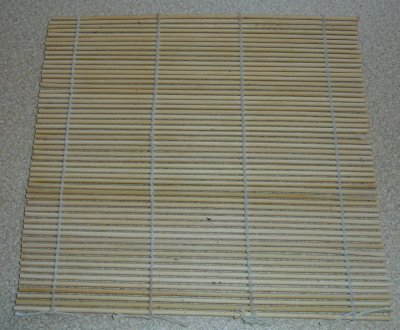 Sushi rolling mat. This is the only special tool you need. It helps to roll the sushi. You place the nori on this, add rice and other ingredients and then roll the nori with the help of this tool. It's usually made of bamboo and is reusable. Sushi rolling mat. This is the only special tool you need. It helps to roll the sushi. You place the nori on this, add rice and other ingredients and then roll the nori with the help of this tool. It's usually made of bamboo and is reusable.
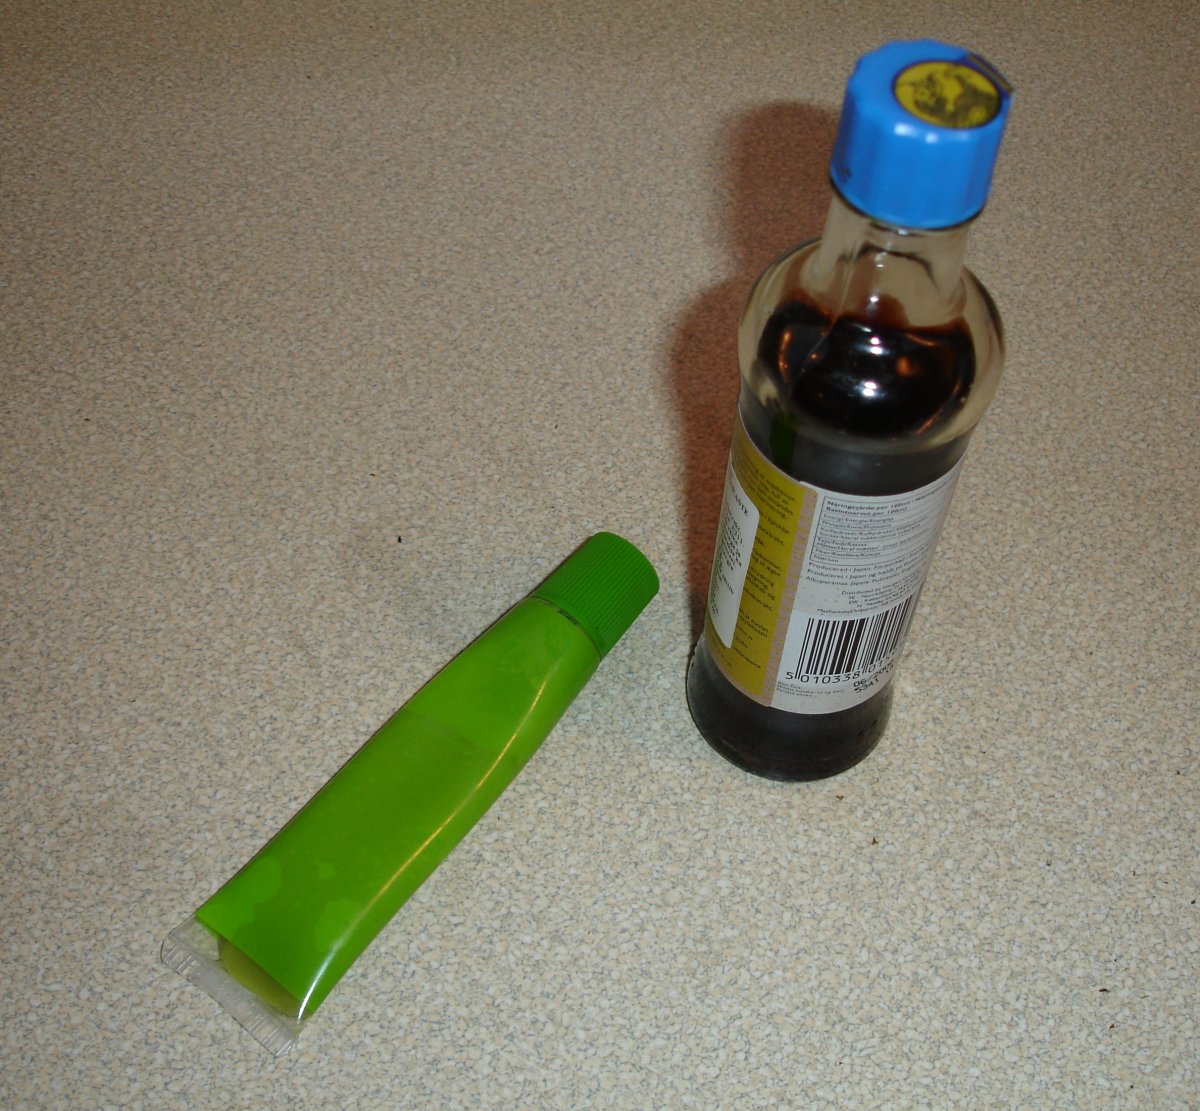
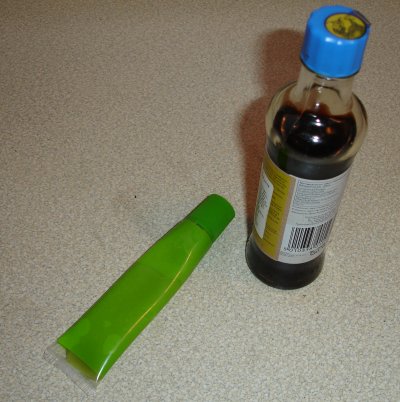 Seasoning. Don't forget the seasoning. It's added when you eat. These are the wasabi paste and the soy sauce. You can't enjoy sushi without these. You can also get pickled ginger if you like. Seasoning. Don't forget the seasoning. It's added when you eat. These are the wasabi paste and the soy sauce. You can't enjoy sushi without these. You can also get pickled ginger if you like.
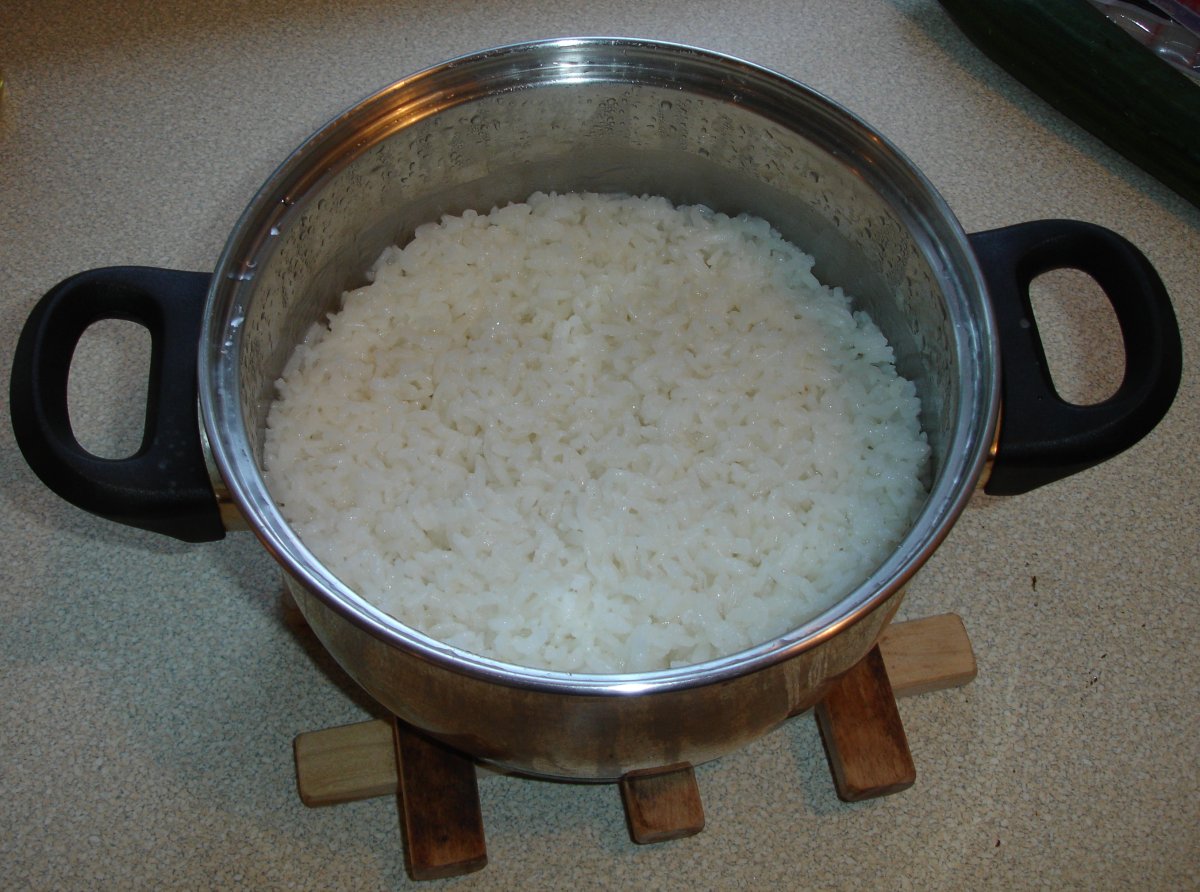
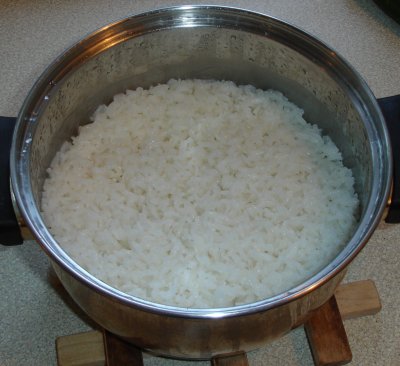 Cooking the rice. This is generally the hardest part to get right. There are rice cookers that do the job for you. I personally have never used or even seen one and don't dare to go shopping for one here in Estonia either as I'll just receive laughter and odd/bewildered looks for asking for such a product (or at best case get referred to a big "rice cooking pot"). Cooking the rice. This is generally the hardest part to get right. There are rice cookers that do the job for you. I personally have never used or even seen one and don't dare to go shopping for one here in Estonia either as I'll just receive laughter and odd/bewildered looks for asking for such a product (or at best case get referred to a big "rice cooking pot"). So how about doing it the old fashioned way? I must say I really suck at it, I get it wrong half the time. But here's the bits I've learned. You need to measure rice and water, depending on rice, but usually the ratio for sushi rice is 1 part rice to 1.5 part water. Or for 2 cups of rice you need 3 cups of water. You may wash the rice before if you want to although some people say that's a relict from the time when mills used chalk (apparently they don't do that anymore, so rice is just dusty). You may add some salt to the water depending on your taste preference. Now I've seen two successful strategies for boiling rice: one is to bring water to a high level boil, pour in the rice and boil at full power for a minute, then turn the power down to smallest level (or even remove the pot for a minute or two to allow the plates to cool) and cook until water has evaporated (around 5-7 minutes). The second way is to cook with very low power from the very start for around 15 minutes (until water has evaporated). Note that the lid must be kept on the pot at all time (but watch out for boiling over!!! if it does you are probably having too much power). Also be sure not to cook at full power all the way as it breaks the rice grains and you'll end up with a porridge. After you've done the boiling put the pot aside and let it cook using its own heat for around 10-15 minutes. This is a necessary step to get the best rice.
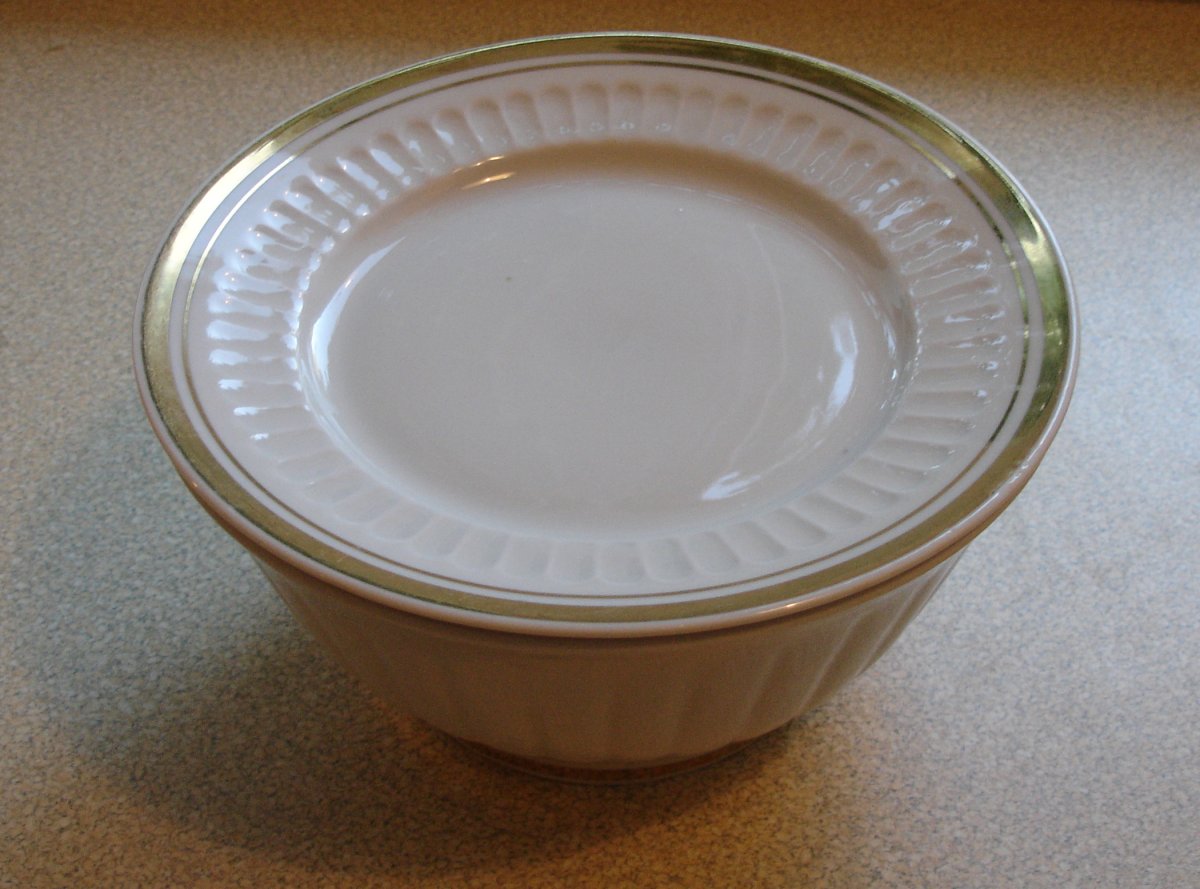
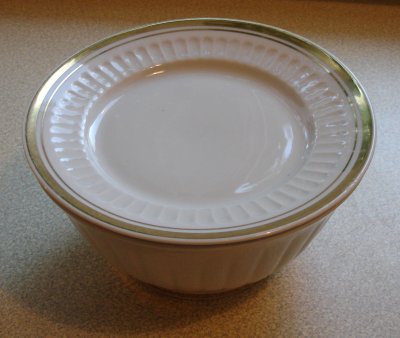 After you've cooked the rice you need to mix the sushi vinegar into it and let it cool. You'll need around 1 tablespoonful of sushi vinegar for every cup of raw rice you started with. The mixing should be done in a separate container that should be ceramic or wooden. The reason is that you are using vinegar which tends to react with metal and cause nasty sideeffects. We don't want any of that. Additionally at mixing you have to be careful not to break the rice grains, so be gentle and don't mix too forcefully. After you've applied the vinegar you have to let the rice cool. I do it here in a big bowl that I have covered with additional plate to prevent drying. They say sushi rice has to be cool when used, I'm not so sure if it is an absolute must but hot is definitely not the way to go. After you've cooked the rice you need to mix the sushi vinegar into it and let it cool. You'll need around 1 tablespoonful of sushi vinegar for every cup of raw rice you started with. The mixing should be done in a separate container that should be ceramic or wooden. The reason is that you are using vinegar which tends to react with metal and cause nasty sideeffects. We don't want any of that. Additionally at mixing you have to be careful not to break the rice grains, so be gentle and don't mix too forcefully. After you've applied the vinegar you have to let the rice cool. I do it here in a big bowl that I have covered with additional plate to prevent drying. They say sushi rice has to be cool when used, I'm not so sure if it is an absolute must but hot is definitely not the way to go.
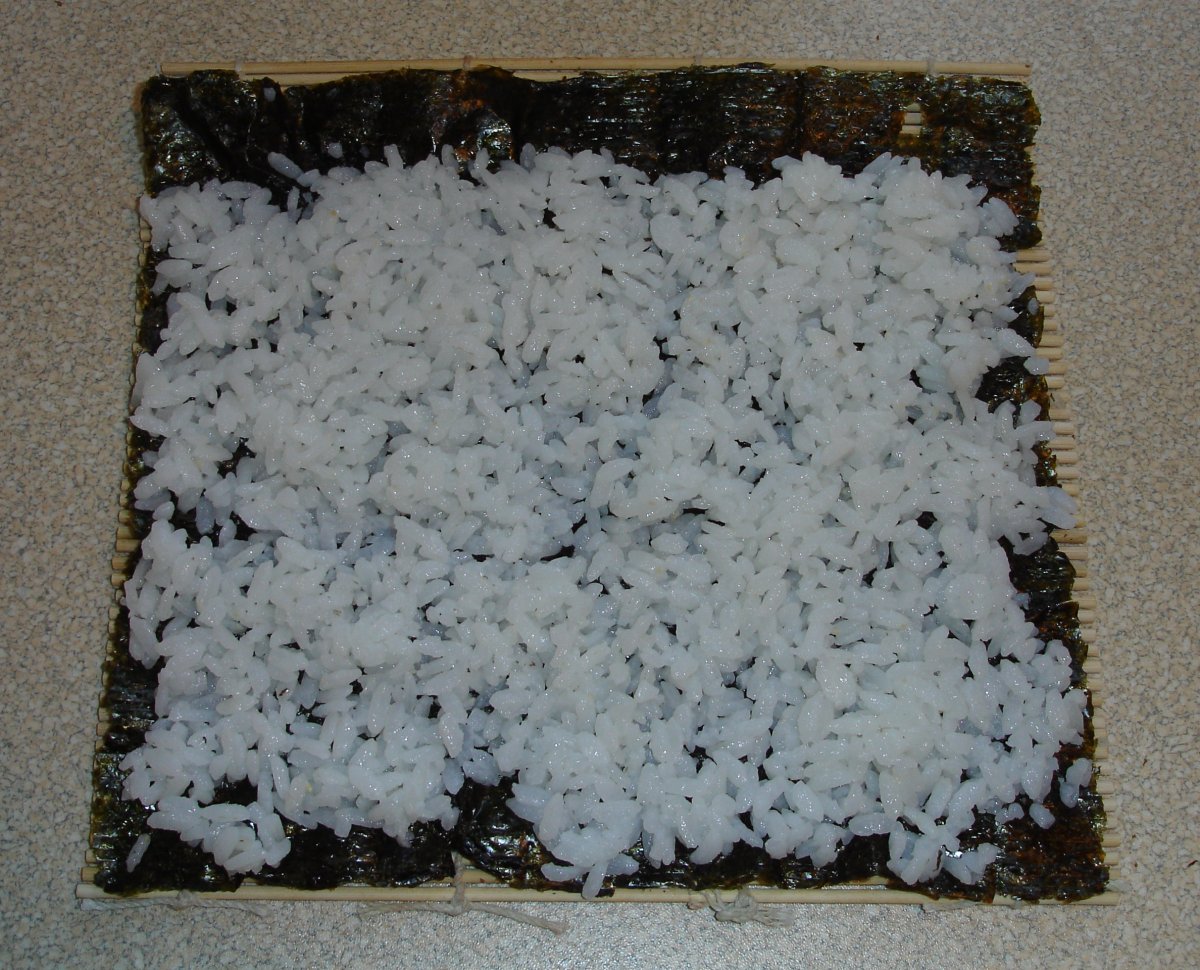
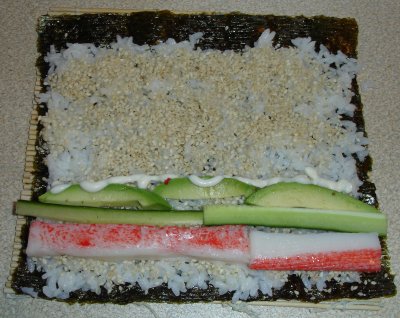
 So lets start making our rolls. First get yourself a small bowl of water. Water helps when working with rice as it prevents rice sticking to your fingers or tools. If rice becomes too sticky sip your fingers or tools occasionally in the water. So lets start making our rolls. First get yourself a small bowl of water. Water helps when working with rice as it prevents rice sticking to your fingers or tools. If rice becomes too sticky sip your fingers or tools occasionally in the water. Lay down the sushi rolling mat with its links horisontal so you can roll up. Place the sushi nori on top of it and put a layer of rice on top of the nori. There are two ways to spreat the rice on the nori, one is to use fingers. As that seems quite unhygienic I myself have come to prefer the backside of a big spoon. Leave a 1.5-2 cm gap at the top of the nori. This is going to be the seal when you've done rolling the sushi.
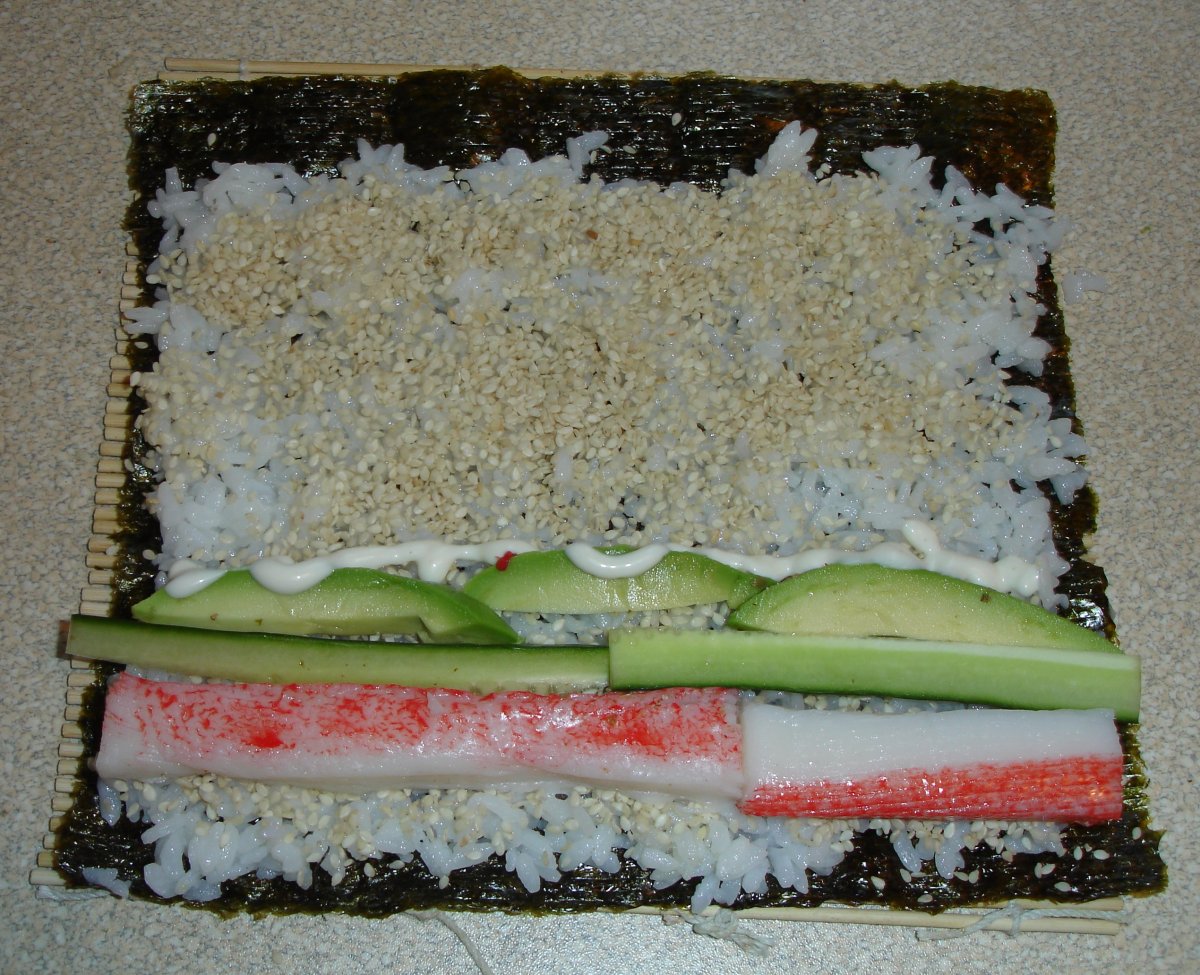
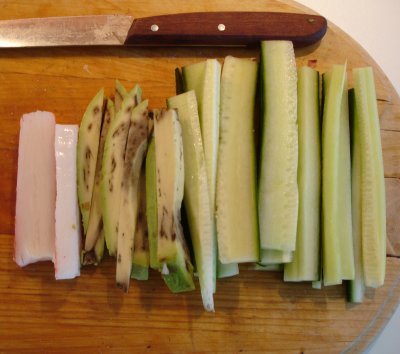 Cut up the avocado and cucumber producing long slices. I also split the surimi sticks as they are too thick for one roll. Sprinkle some sesame seeds on top of the rice, add one row of surimi, one row of cucumber and one row of avocado. Also squeeze some mayo in between it. Cut up the avocado and cucumber producing long slices. I also split the surimi sticks as they are too thick for one roll. Sprinkle some sesame seeds on top of the rice, add one row of surimi, one row of cucumber and one row of avocado. Also squeeze some mayo in between it.
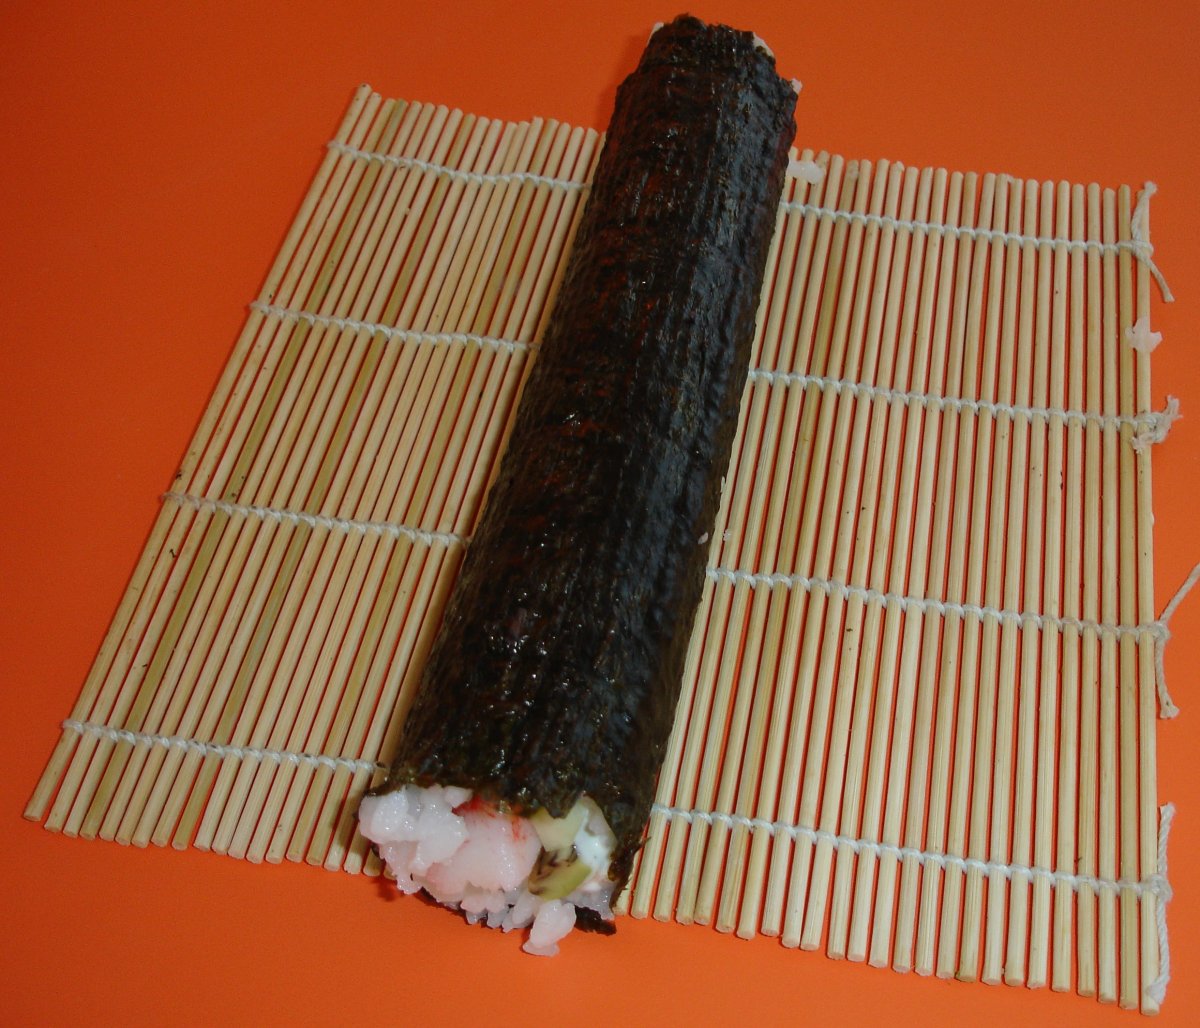
 Once you've layed out the guts of the sushi roll, pick up the bottom of the mat and start rolling. Be careful not to break the nori and remember - the bamboo mat is meant to help to roll, you're not supposed to sandwitch it into the sushi roll. So roll until only the top part is left - that's the 1.5-2 cm part you left clear of rice before. Now you need to get it wet and seal the roll. You see nori sticks when it is wet so it seals the roll. I usually use a finger and the bowl of water to do the job. I also recommend doing this at the end of rolling and quickly because when nori starts to dry it loses its properties and won't seal again as well. Seal the end wrapping the bamboo mat all around the roll and hold for a few moments until it drys and binds. You've ended up with a sushi roll now, all that's left to do is to cut it up and start eating. Once you've layed out the guts of the sushi roll, pick up the bottom of the mat and start rolling. Be careful not to break the nori and remember - the bamboo mat is meant to help to roll, you're not supposed to sandwitch it into the sushi roll. So roll until only the top part is left - that's the 1.5-2 cm part you left clear of rice before. Now you need to get it wet and seal the roll. You see nori sticks when it is wet so it seals the roll. I usually use a finger and the bowl of water to do the job. I also recommend doing this at the end of rolling and quickly because when nori starts to dry it loses its properties and won't seal again as well. Seal the end wrapping the bamboo mat all around the roll and hold for a few moments until it drys and binds. You've ended up with a sushi roll now, all that's left to do is to cut it up and start eating.
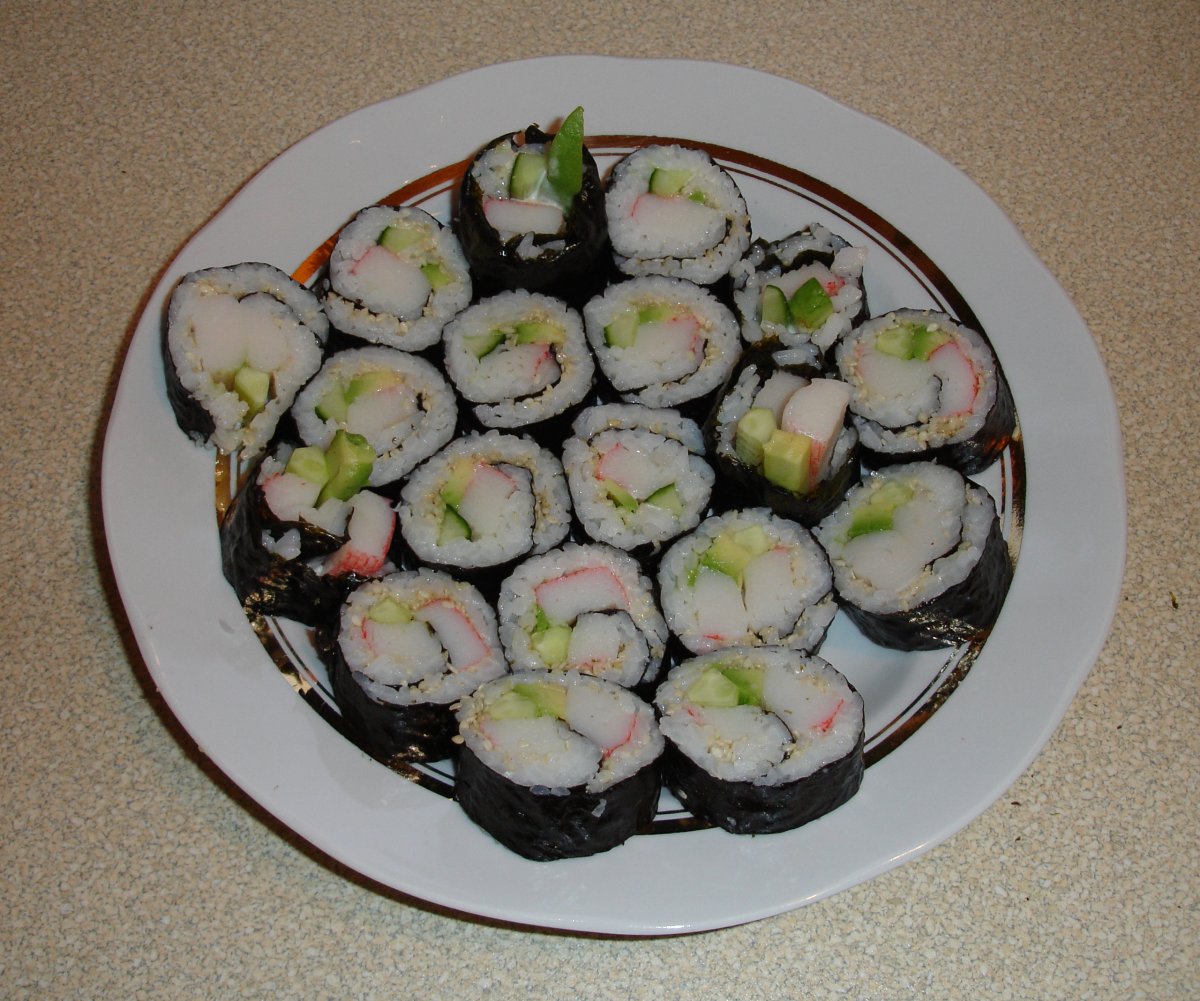
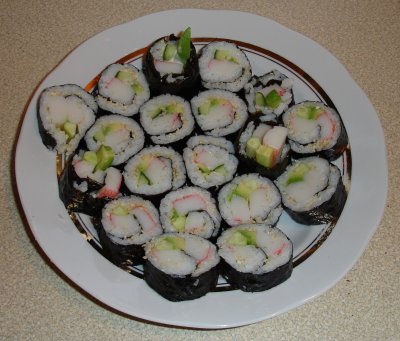
 Just take the sushi roll (looks like a green-black sausage now) and cut it into maki pieces. The standard nori size cuts to 8 pieces plus 2 heads (so total 10 maki pieces). You'll need a sharp knife to do the job. You may again use the bowl of water to make the knife more slippery. Just take the sushi roll (looks like a green-black sausage now) and cut it into maki pieces. The standard nori size cuts to 8 pieces plus 2 heads (so total 10 maki pieces). You'll need a sharp knife to do the job. You may again use the bowl of water to make the knife more slippery. I usually use 2 cups of raw rice and get 5 rolls of sushi out of that, that's 50 maki pieces! I've also found that you can put the rolls for a short while into a fridge without any problems, only the ends will dry a bit, the rest will stay quite fresh. When you need it you can just take it out and cut into maki pieces. And don't eat too fast, this food is meant to be enjoyed.
 So where to go next? By all means experiment with ingredients. Omlet, peaches, onions, shrimps, paprica, mustard, black pudding. You can put anything you desire into your makis, there is no limit. So where to go next? By all means experiment with ingredients. Omlet, peaches, onions, shrimps, paprica, mustard, black pudding. You can put anything you desire into your makis, there is no limit.
I hope you learned even a bit about sushi from this website. If you got any special inspiration then please let me know, I'd like to find out about it. Good luck!
|